
- Doing gel nails at home offers the convenience of setting your schedule and saving money on salon visits.
- Invest in a good-quality UV or LED lamp, gel nail polish, base coat, top coat, nail file, cuticle pusher, and acetone for removal.
- Proper nail preparation is crucial. Start with clean, dry nails, push back cuticles, and gently buff the nail surface for better adhesion.
- Apply gel polish in thin, even layers to prevent uneven curing and to achieve a smooth, professional-looking finish.
Are you tired of not being able to get an appointment with your favorite nail artist? Or maybe you are tired of shuffling around your plans all for a nail appointment? It might be worthwhile considering doing your own nails.

The idea of doing gel nails at home may be intimidating but with products and kits accessible doing your nails by yourself has never been easier.
For those that need a flexible option or that need to save money, the DIY route is sure to benefit you.
This guide will help prepare you for doing your gel nails at home as well as giving useful tips on how to make your gel nails last longer and more.
Tools
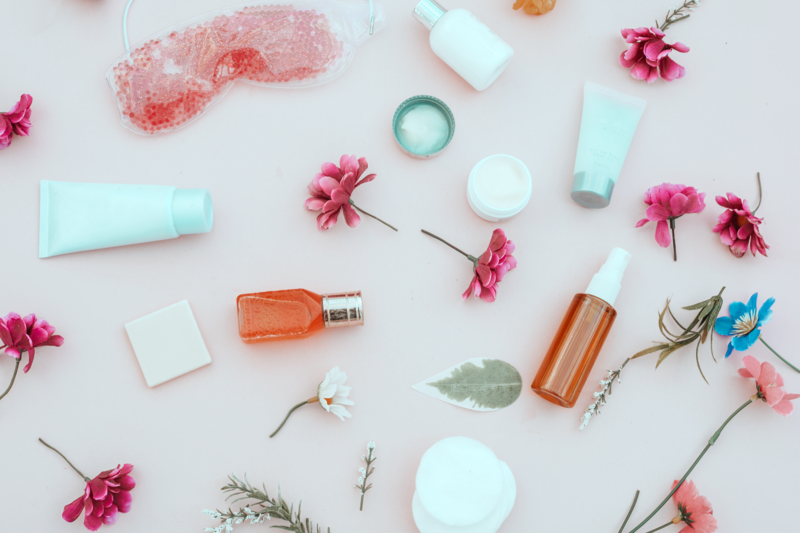
Having the right tools will set you up for success when doing your gel nails at home by yourself. There are a number of necessary tools that you will need to get before you begin this process.
- Nail Scissors or Clippers
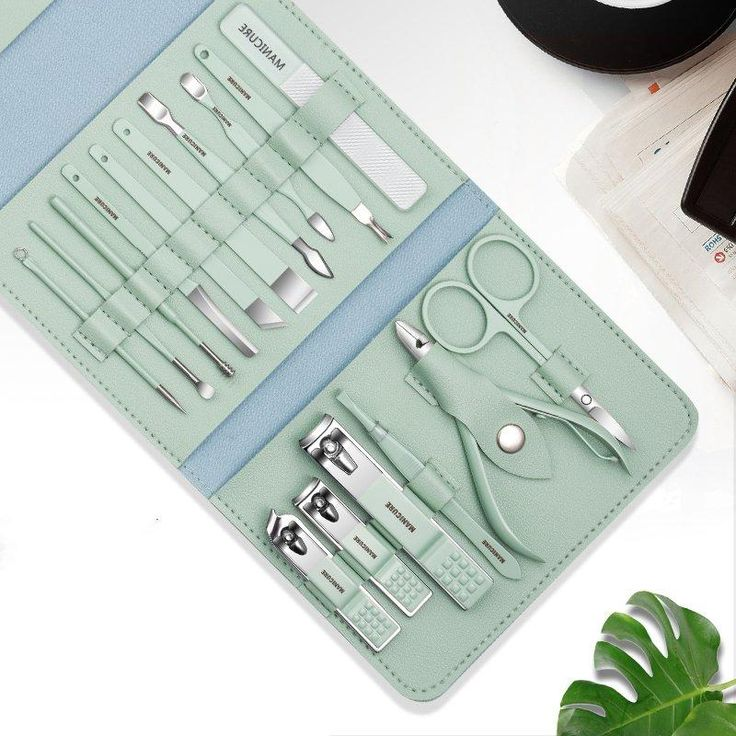
When doing gel nails at home, it’s important to have precision tools for trimming and shaping.
Nail scissors or clippers with sharp, precise blades are essential for achieving the desired nail length and shape.
Look for stainless steel options for durability, and ensure they are sanitized before use to maintain a clean and safe manicure process.
- Nail FIle
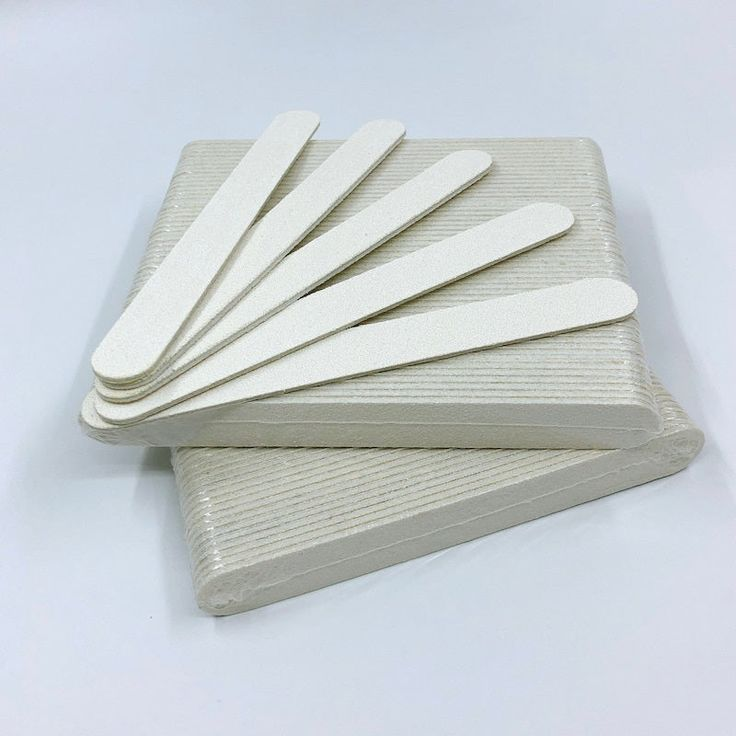
A high-quality nail file is essential for doing gel nails at home. Look for a fine to medium grit file, which is ideal for shaping and smoothing the gel.
It should also be durable and long-lasting to withstand multiple uses. Using a proper nail file ensures your gel nails look salon-perfect and last longer.
- Nail Buffer

A nail buffer is essential for achieving salon-quality gel nails at home.
It helps prepare your natural nails by smoothing the surface, removing ridges, and creating the ideal canvas for gel polish application.
With gentle yet effective buffing ensures a flawless and long-lasting gel manicure. Follow proper techniques and use a quality nail buffer for the best results.
- Cuticle Stick
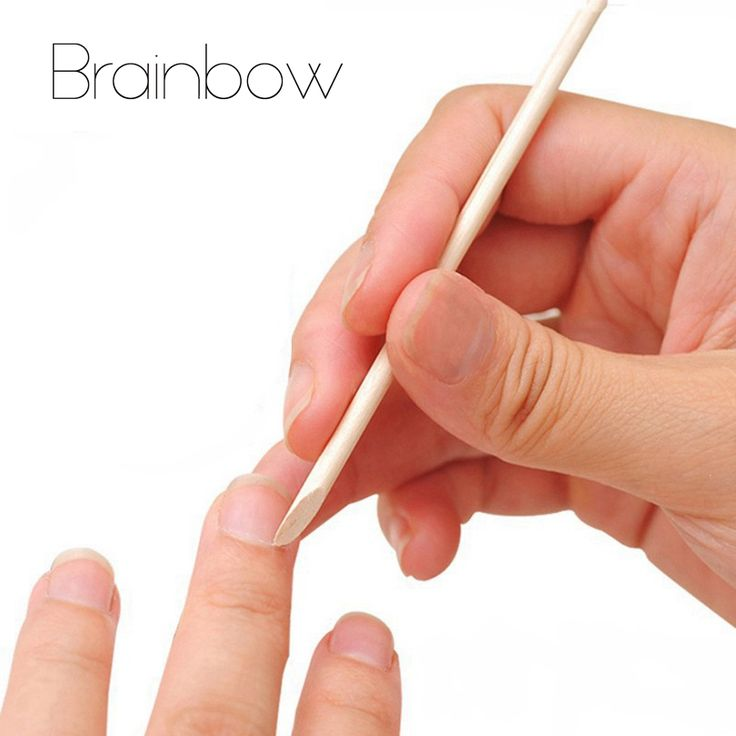
A cuticle stick is an essential tool for doing gel nails at home. It helps push back and clean the cuticles, ensuring a clean and smooth nail surface for gel application.
This simple yet effective tool provides your gel nails look salon-quality and helps in achieving a professional finish in the comfort of your home.
- Cuticle Oil
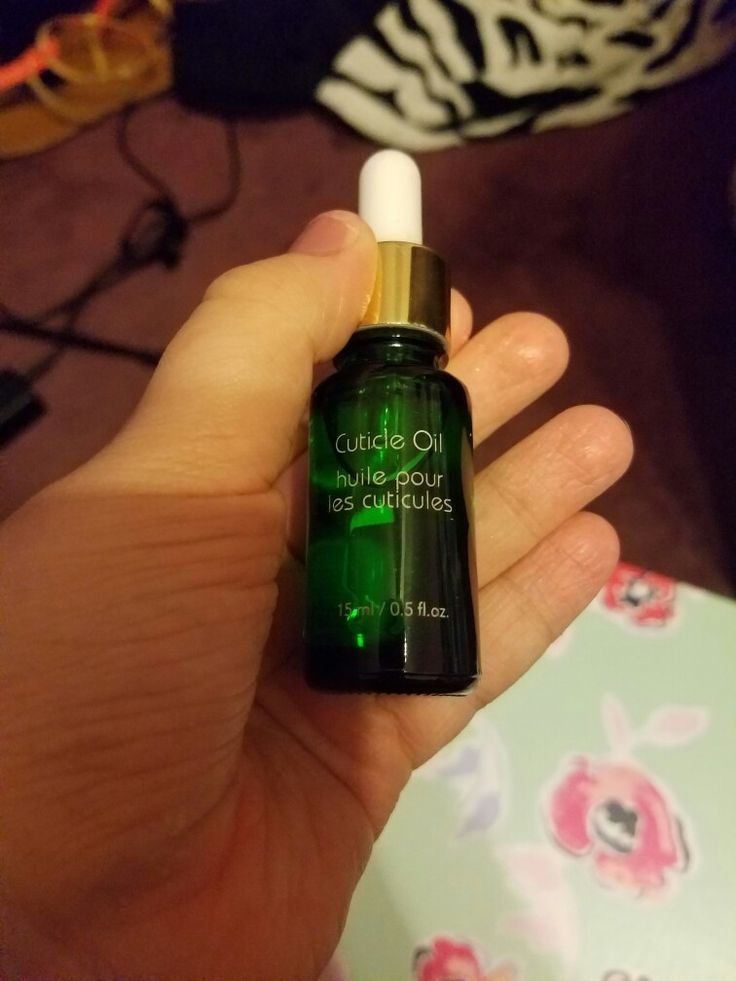
Using cuticle oil is essential when doing gel nails at home. It helps moisturize and soften the cuticles, making it easier to push them back and apply the gel polish evenly.
Additionally, cuticle oil promotes healthy nail growth and prevents the gel polish from lifting or chipping. Apply it before and after your gel nail application for the best results.
- Cotton Pads
Using cotton pads for at-home gel nail applications is a practical choice. They can clean and prep the nails, remove excess polish, and apply acetone for gel removal.
Their soft texture is gentle on nails, making them a must-have tool for a tidy and efficient DIY gel manicure.
Before You Get Started
- Nail Health: Gel nails can be heavy on your natural nails, so make sure they are in good health, free of infections, and not too thin or damaged.
- Nail Preparation: Prepare your natural nails by cleaning, trimming, and shaping them.
- Base Coat: Always use a proper gel base coat. This step is crucial for the adhesion of the gel polish and the protection of your natural nails.
- Nail Kit and Supplies: Gather all the necessary supplies, including gel nail polish, LED or UV lamp, base and top coats, nail files, buffing blocks, nail cleanser, and cuticle oil.
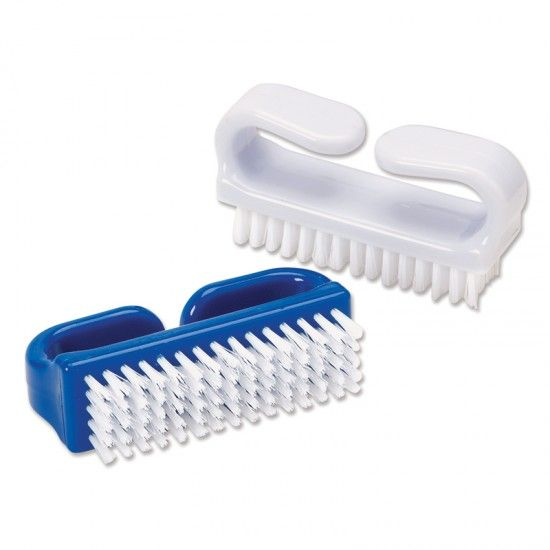
- Cotton buds
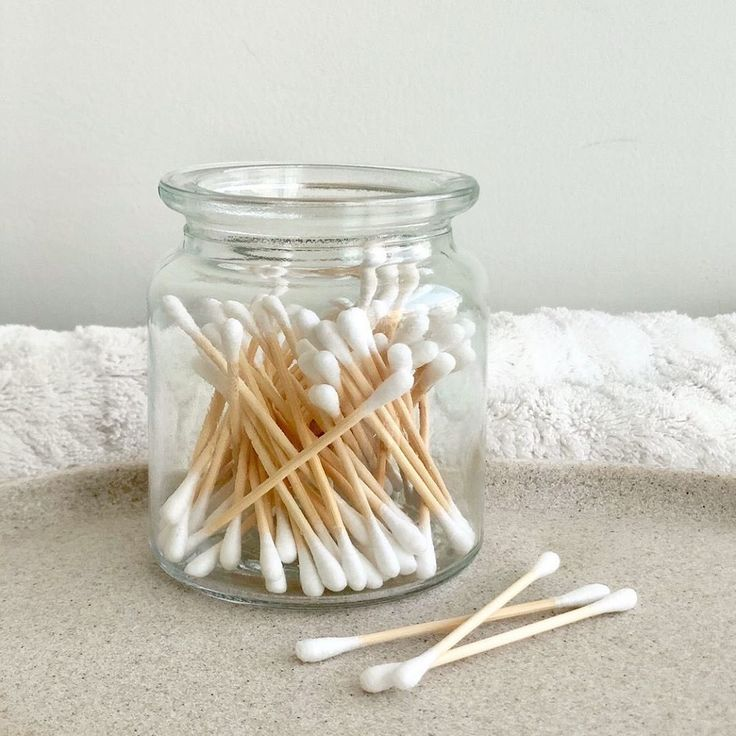
Cotton buds, also known as cotton swabs or Q-tips, are handy tools for DIY gel nail application at home.
They can be used for precision cleaning and detailing during the gel nail process, helping to remove excess polish or clean up any mistakes.
Their fine tips make them ideal for achieving a professional finish with ease.
- Acetone
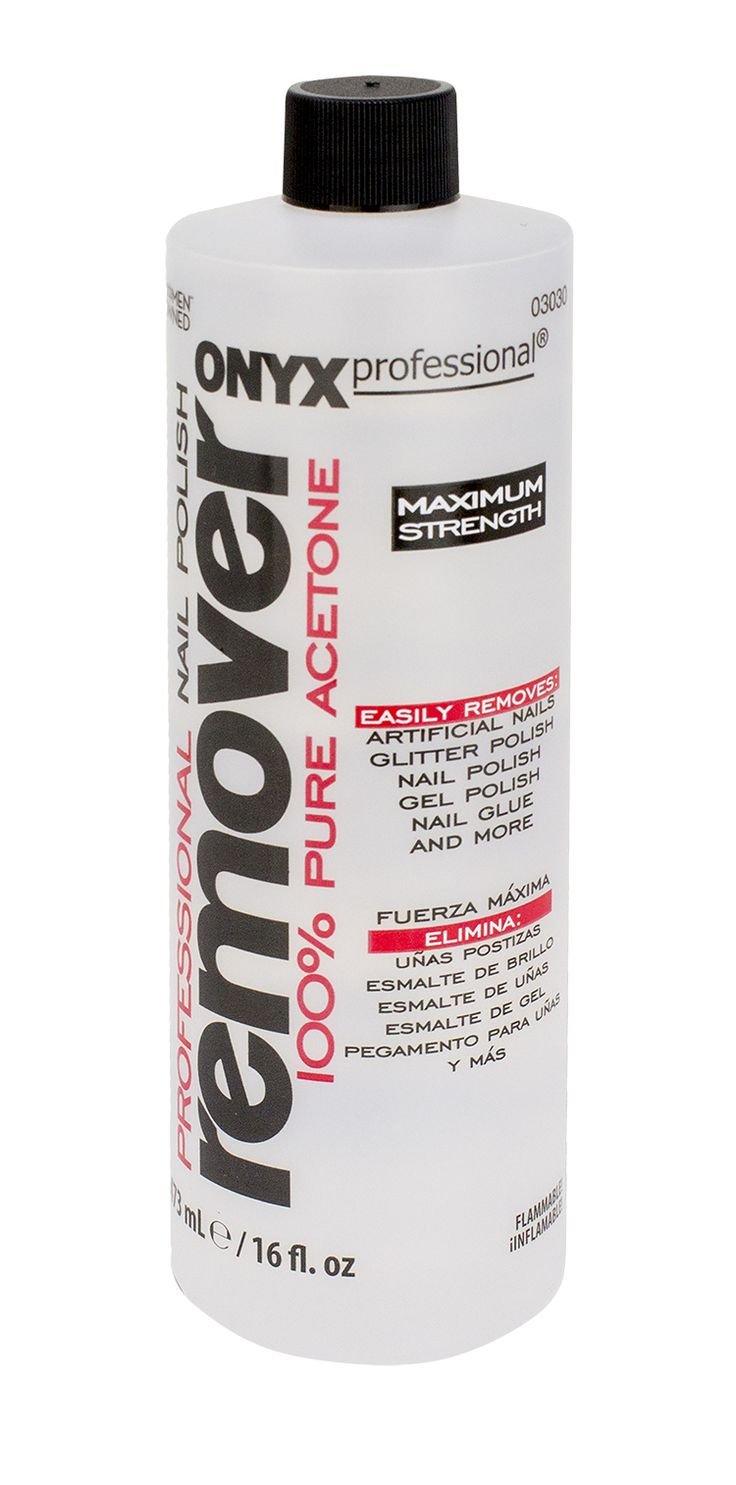
Acetone is a common choice for removing gel nails at home. It effectively breaks down the gel polish, making removal easier.
Soak cotton balls in acetone, place them on your nails, and wrap them with aluminum foil. After 10-15 minutes, the gel should lift, allowing for gentle removal with a cuticle stick.
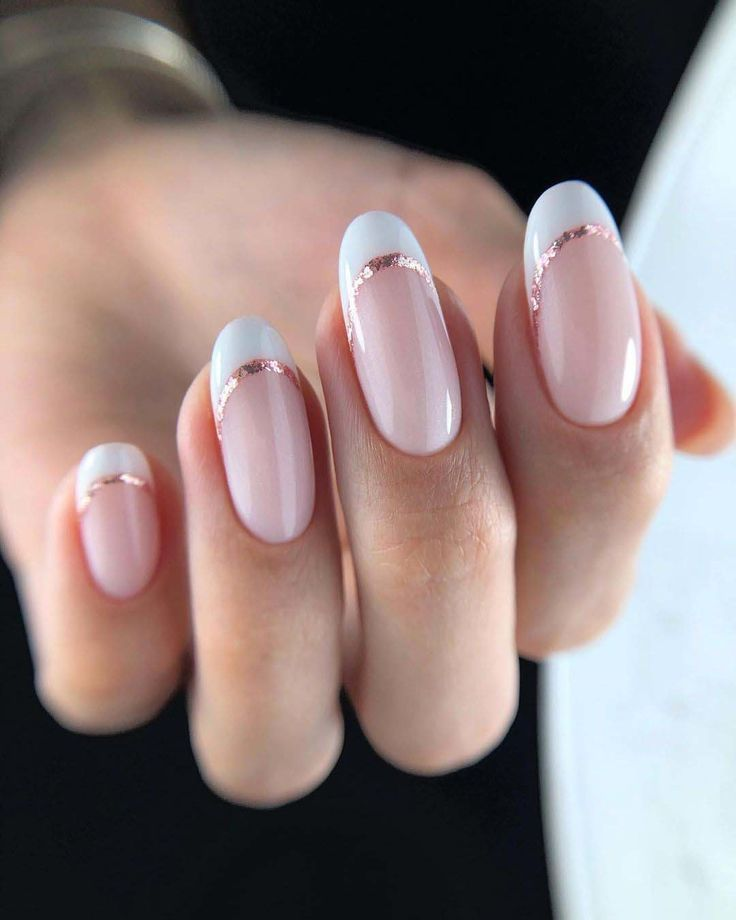
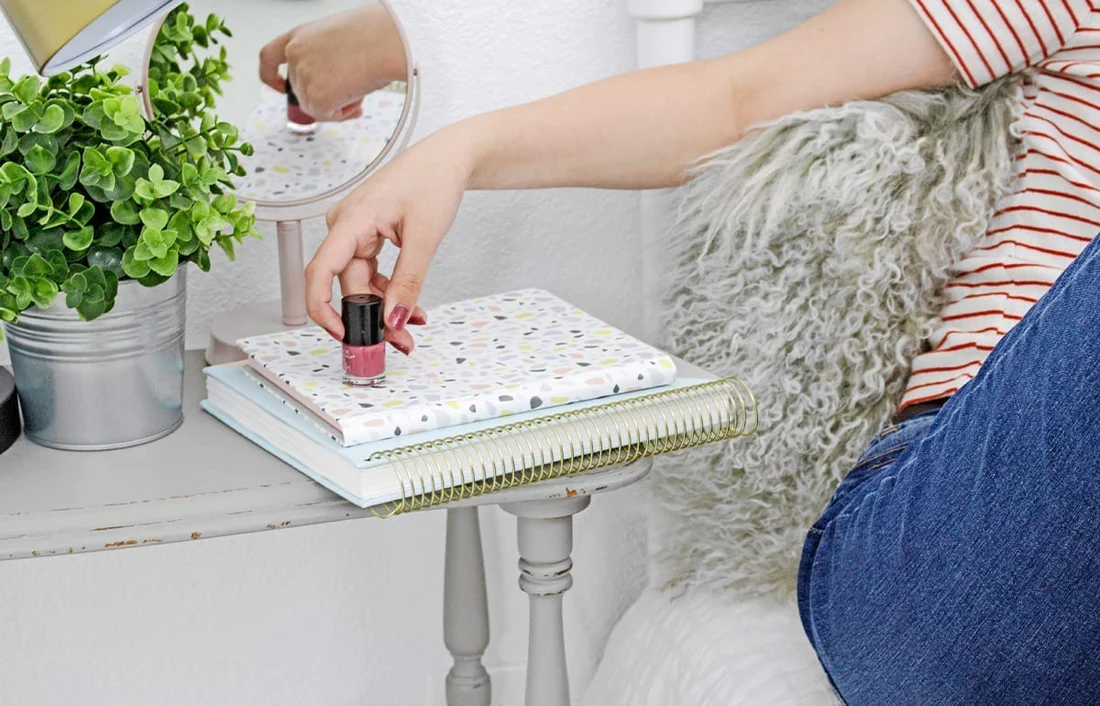
- Gel Polish – Base Coat, Colored Polish and a Top Coat
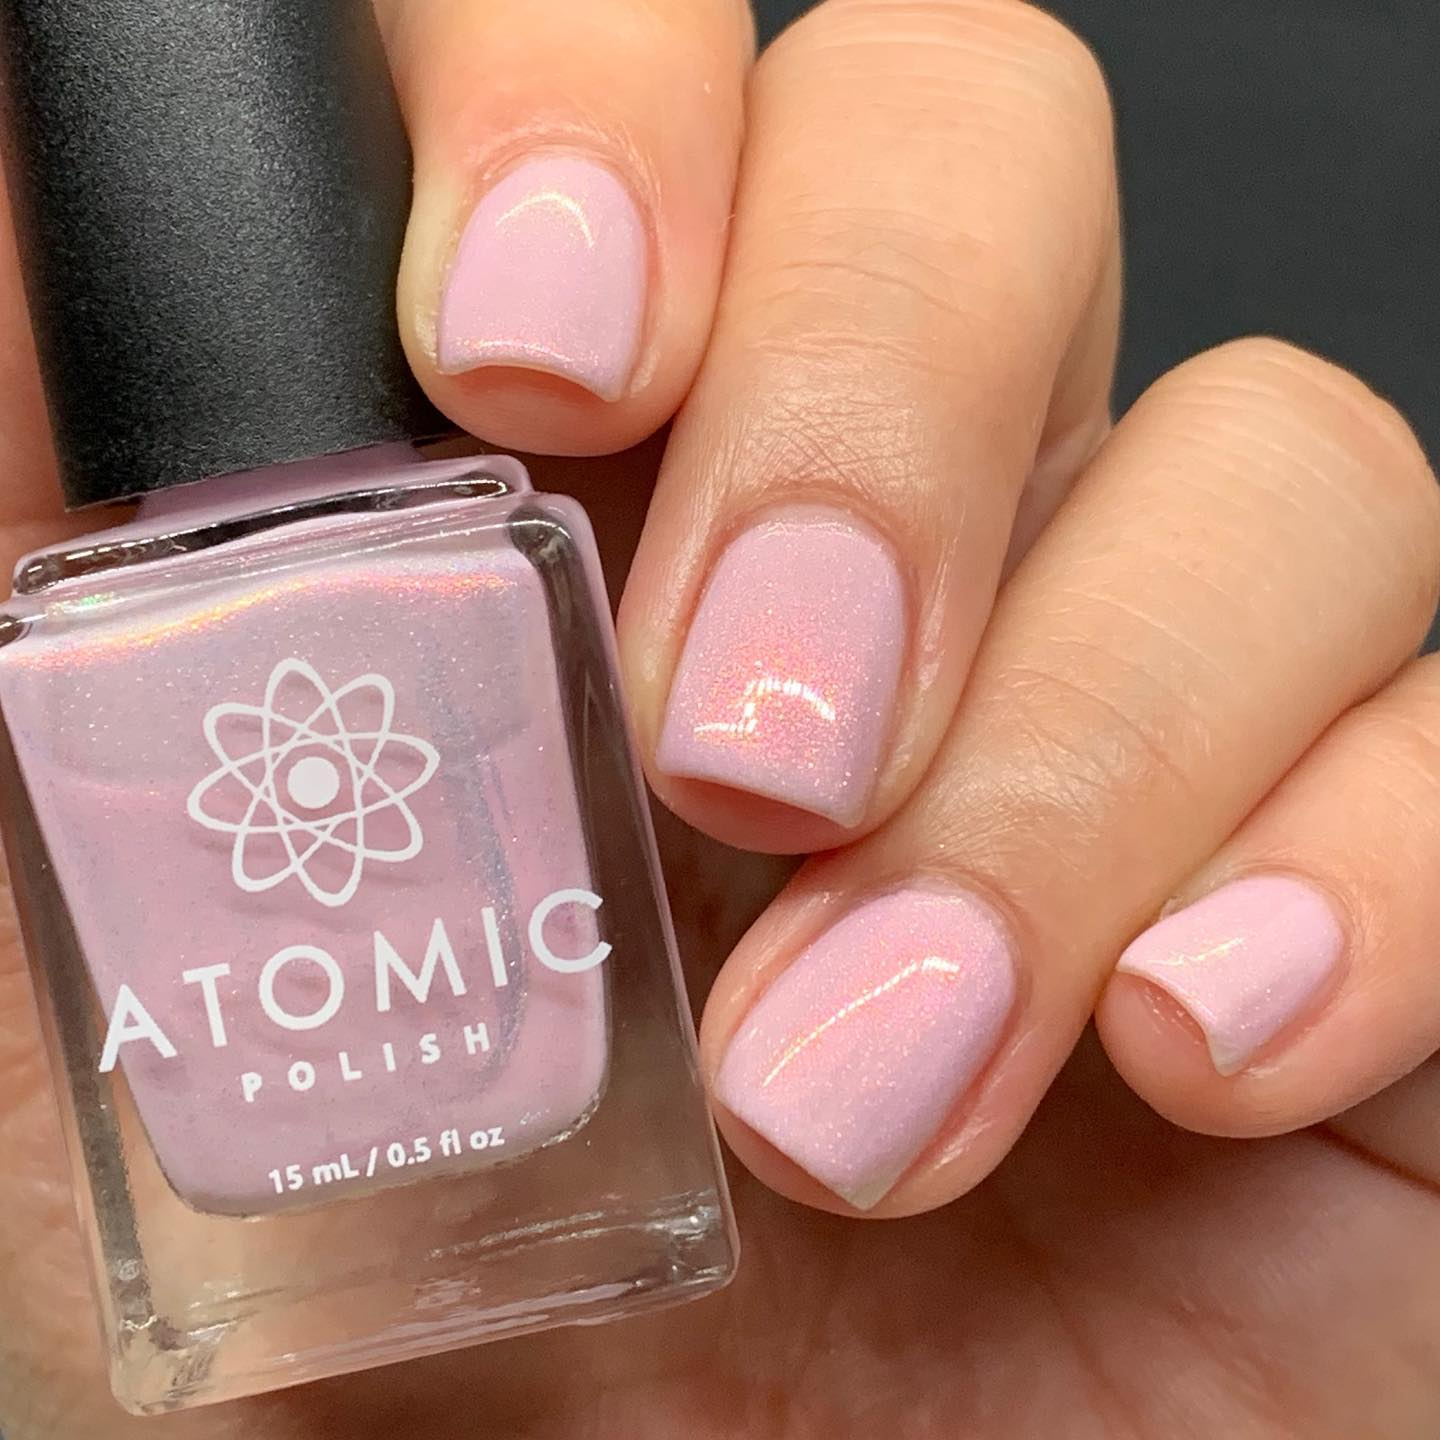
Gel nail polish typically consists of three key components: a base coat, colored polish, and a top coat.
The base coat is applied first to create a smooth surface and improve adhesion. The colored polish comes next, providing the desired hue.
Finally, the top coat seals and protects the manicure, adding shine and durability, making it perfect for at-home gel nail applications.
- UV Light (depending on if your polish is UV cured or not)
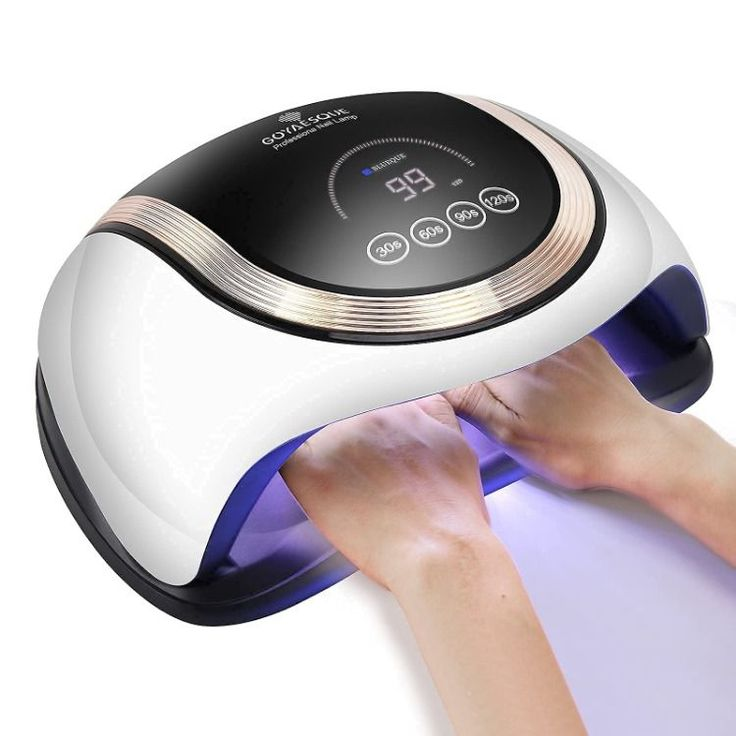
You’ll need a UV light if your gel polish requires UV curing to do gel nails at home. UV lights emit ultraviolet rays that activate and harden gel nail polish.
They come in various styles, including LED lamps, and are essential for achieving salon-quality, long-lasting gel manicures in the comfort of your own home.
- Nail Brushes (depending on how intricate your designs will be)
When doing gel nails at home, having a set of nail brushes is essential, especially if you plan to create intricate designs.
These brushes come in various shapes and sizes to help you achieve precise detailing, fine lines, and intricate patterns.
They are valuable for adding creativity and personal flair to your DIY gel nail art.
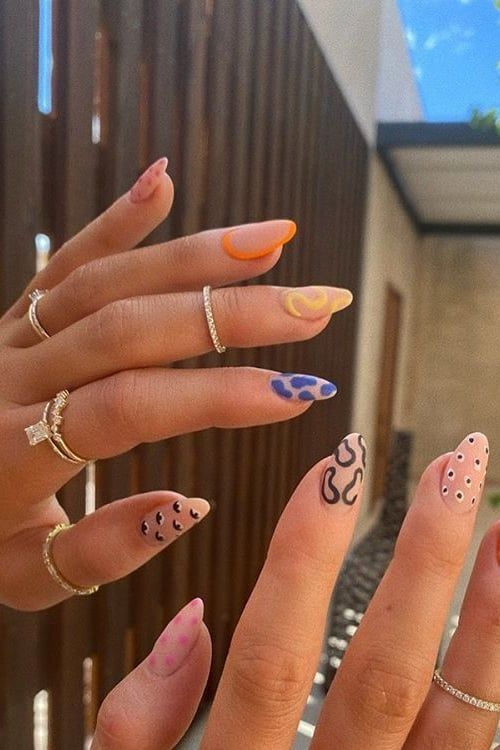
- Nail Stickers (for some extra glamor!)
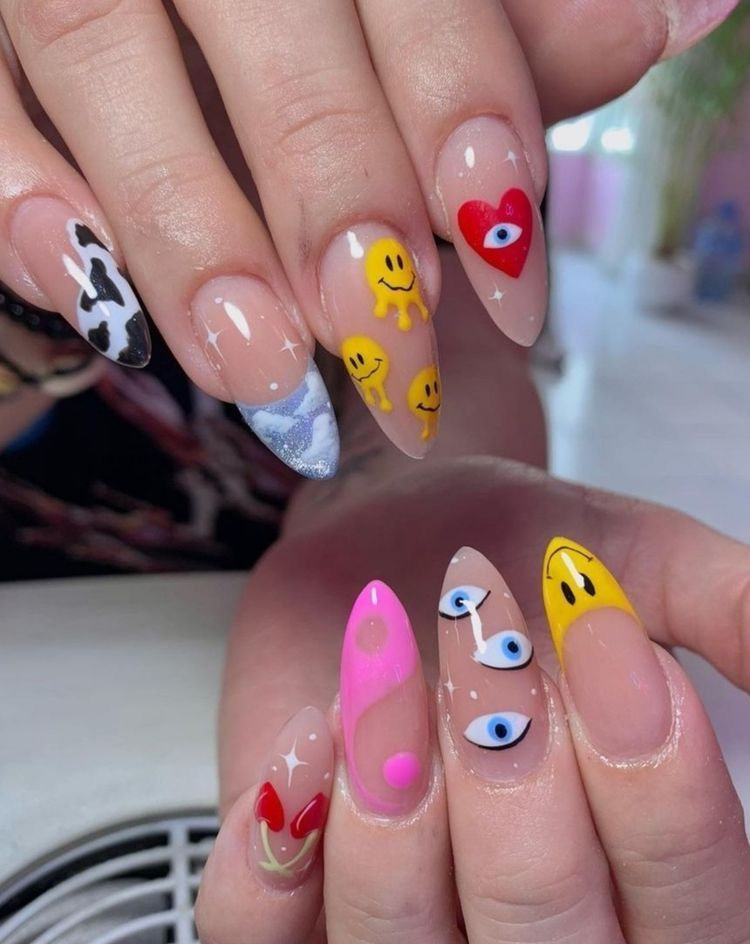
Nail stickers are a fantastic way to add extra glamour to your DIY gel nails at home.
These adhesive nail art designs come in a variety of colors, patterns, and shapes, allowing you to create stunning nail art with ease.
Peel, apply and seal with a topcoat for a fabulous and effortless manicure. Upgrade your nail game with nail stickers for a touch of instant glamor!
While the list may seem extensive and costly it is all worth it to give you the independence of doing your nails by yourself.
You will make back what you spend in the money you will save from not going to a nail salon.
Some well-known nail polish brands have gel polish kits specifically for at home use and they can often be less expensive than buying tools and polishes individually.
Quick Guide to Mastering Gel Nails at Home
- Technique: Follow the manufacturer’s instructions for each gel nail product carefully. Apply thin, even coats, and be meticulous with your technique.
- Free Edge Sealing: Seal the free edge of your nails by applying a bit of base coat and gel polish to prevent chipping.
- Gel Polish Application: Apply your chosen gel nail polish color in thin, even coats. Start with a single layer and cure it under the LED or UV lamp.
- Repeat Layers: Apply additional layers of gel polish with curing in between. Make sure each layer is thin and even for the best results.
- Seal with Top Coat: Apply a thin layer of gel top coat to seal your nail color and add shine.
Preparation
Now that you have all your tools you need to get ready to apply the gel polish.

- Choose an area with good lighting to apply the polish. We recommend having a desk and flat surface to place your hands as you paint your nails. You will also need an electrical socket nearby for your UV lamp if you are using one.
- Sanitize the area to keep your tools sanitary.
- Lay out your tools so that you do not need to leave your chair to go looking for things, which could lead to smudges on your nails.
- Choose the colors that you will be using as well as get your base coat and top coat ready for use. Also, lay out any stones or studs you may be applying as details to the nails.
- Wash your hands before beginning to make sure there is no dirt under your nails.
Take the time to read through the technique before beginning if it is your first time doing gel nails at home by yourself. Preparation is key.
Now that you have all of that done, get your favorite music or podcast playing, relax and enjoy the process.
Technique
- Cut and file your nails to the shape you want. Ensure you file your nails so that they are smooth along the edges to avoid any snags or tears. Strive to have all of your nails of equal length for the best, most professional look.
- Apply cuticle oil and massage into the skin. Cuticle oil will make it easier to push back your cuticles without causing pain or breakage. Cuticle oil is also important for your general nail health. Wipe away any excess oil by wiping your nails with a cotton pad with acetone, this will remove any excess natural oils also.
- Gel nail polish needs a rough surface in order to stick to the nail. If you have smooth nails the polish will peel easily. Gently buff the nails from edge to edge and again wipe with a cotton pad with some acetone.
- Take your base coat and apply it generously to the nails. If you are using a polish that needs to be cured by UV light, place your hands under the lamp for up to 30 seconds and then remove. Check your UV lamps instructions as the duration for curing may vary. If your polish is not UV cured, wait for it to dry.
- Take your chosen colored polish and apply it to the nail. Repeat the curing process if necessary or wait for your nails to dry between each coat. Two coats is usually the recommended amount of coats. Wipe away any mistakes by taking a cotton bud with acetone.
- If you are embellishing your nails, this is your time to shine. Apply any stones or studs and cure under the lamp. You can attach stones and studs using clear gel nail varnish.
- Apply your topcoat to the nails and cure for one last time. Often the final cure is for a longer duration of time, check the instructions for your UV light for more information regarding this. If your polish is not UV cured, wait for it to dry.
- Add cuticle oil again to seal and to maintain nail health.

Top Tip
If it is your first time applying gel nail polish, apply petroleum jelly or a clear coat of regular nail varnish on the skin around your nail. This will make it easy to remove any mistakes that may happen.
Keep In mind
- Safe Removal: When it’s time to remove your gel nails, do not peel or force them off.
- Cuticle Oil: Apply cuticle oil to nourish your cuticles and keep the skin around your nails healthy.
- Top Coat: Once you’re satisfied with the color, apply a clear gel top coat. It adds shine and protection to your nails.
- Maintenance: Be prepared for regular maintenance. As your nails grow, fill in any gaps near the cuticle area to maintain a polished look.
How To Make Your Gel Nails Last
- Avoid soaking your nails in hot water, wear rubber gloves when washing up dirty dishes
- Apply cuticle oil and nail oil daily
- Apply additional coats of clear varnish to maintain shine and avoid chips
- File away any snags that may occur immediately to avoid the nail from tearing further
Benefits Of Doing Gel Nails At Home
Doing your own gel nails at home can have many benefits that in turn benefit your bank account and allow you to reclaim your time.
Doing gel nails at home offers several benefits, including cost savings, convenience, and creative control.
You can customize colors and designs, avoid salon appointments, and maintain nails at your own pace.
Plus, it’s a valuable skill for on-demand nail care and experimentation with various styles.
- Doing your own gel nails means you can do your nails on your schedule as opposed to a nail artist’s schedule and availability as well as salon opening hours. Nail salons are often extremely busy and trying to get an appointment at a time that suits you can be difficult. By doing it yourself you can do your nails as and when it suits you.
- While it may be costly to buy the right kits in the beginning this will pay off in the long run as you won’t need to pay professional fees every two to four weeks.
- You have more control over the style, shape, and design you have on your nails. Nails can be extremely personal and if you struggle to find an artist that gives you the finished look that you are longing for then doing it yourself may be the right thing for you.
- YOu can decide whether you want to use a UV light or not. In salons, all gel polishes are cured by a UV light which can be damaging over time. By doing your own nails you can get self-curing gel polishes which eliminate the need for a UV lamp.
- Apply thin, even layers of base coat, color, and topcoat to ensure proper curing.
- Don’t over-cure the nails under the UV/LED lamp; follow recommended curing times.
- Apply a topcoat every few days to maintain shine and protection.
Pro Tip
One of the most crucial aspects of achieving a professional-looking gel manicure at home is maintaining a steady hand during each step of the process.
Cons Of Doing Your Gel Nails At Home
While doing your own nails has a lot of benefits there are unfortunately a number of cons also.
- If you struggle to learn the technique you could be causing damage to your natural nails with each attempt. Be patient when learning to avoid this from happening.
- You may not be able to achieve the desired look or design you are hoping for. Nail artists spend years learning how to master these techniques and how to paint on intricate designs.
- The tools you have access to may not be salon standard and they may cause damage when used incorrectly.
- You’ll need to purchase gel nail supplies, including a lamp and various products, which can be costly upfront.
- Home kits may have a limited color or design selection compared to salons.
- Proper ventilation and safety precautions are crucial due to the use of chemicals and UV/LED lamps.
Final Thoughts
What you put in is what you will get out when it comes to doing your gel nails at home by yourself.
If you do not prepare your nails correctly, have the correct tools, or take the time to learn the correct technique it is best that you go to a salon.
If you are happy to take the time to do the above and enjoy the process then doing gel nails at home by yourself is perfect for you.
Enjoy expressing yourself through your nails and have fun learning new techniques and ways to design your nails.
Fun Fact
Gel nail polish is sometimes called the “lazy girl’s” or “busy woman’s” manicure because of its long-lasting properties. It is a practical choice for anyone looking to maintain a fabulous manicure without touch-ups.

- 25 Anime Makeup Looks To Help You Discover The Enchanting World Of Anime Makeup in 2025 - September 22, 2023
- 41 Toe-Tastic Toe Nail Designs For Every Season - September 21, 2023
- 75 Dazzling Extensions Of Glamorous Acrylic Nail Designs To Rock Unique Looks - September 20, 2023